Introduction: NDI Access Manager is a free application included with NDI Tools that allows you manage the discovery and access to specific NDI resources such as cameras, encoders and more for your production PC.
- Feature Exploration: Let's take a moment to explore some of the specific features offered by NDI Access Manager and discuss when you may want to configure the feature(s).
-
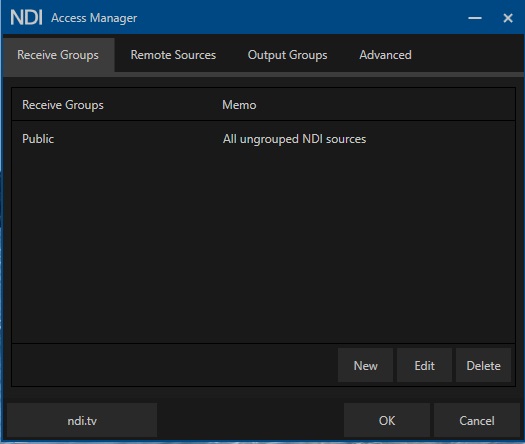
Receive Groups: This feature allows you to "hide" NDI resources on the network, when supported by the source, so that only the system(s) you want to access a specific NDI resource are able to access it.
Please Note: By default, all NDI systems are joined to the NDI Group "public" that allows for full access for any other NDI systems.
To utilize the NDI Receive Groups you must first define a Group name on the NDI source.
- If you are using a Prisual camera this can be found in the NDI Config section of the cameras web interface. The default Group is "public" which allows the source to be seen by any NDI receiver on the same network. If you delete "public" and replace it with something unique such as "RedSnapper10" the NDI source will only be discovered by receivers also joined to the "RedSnapper10" receive group.
- It is also worth noting that sources and receivers can be joined to multiple NDI Groups by simply using "," (Example: "RedSnapper10,RightStage" would be joined to both RedSnapper10 and RightStage NDI Groups)
Once you have set up your NDI Group assignment on your NDI Source(s) you now need to use Access Manager to "join" those NDI Groups. On the NDI Receive Groups tab click "New" where it will allow you to join specific NDI Groups by simply entering the same NDI Group Name used on the NDI Sources.
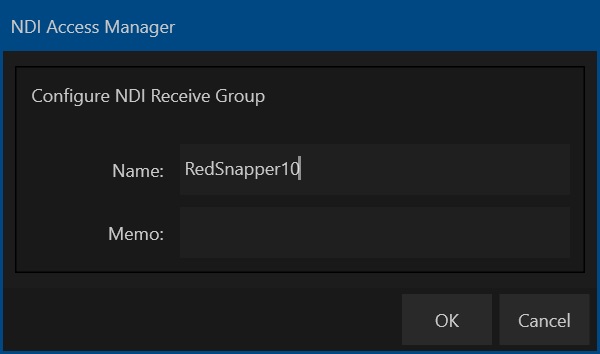
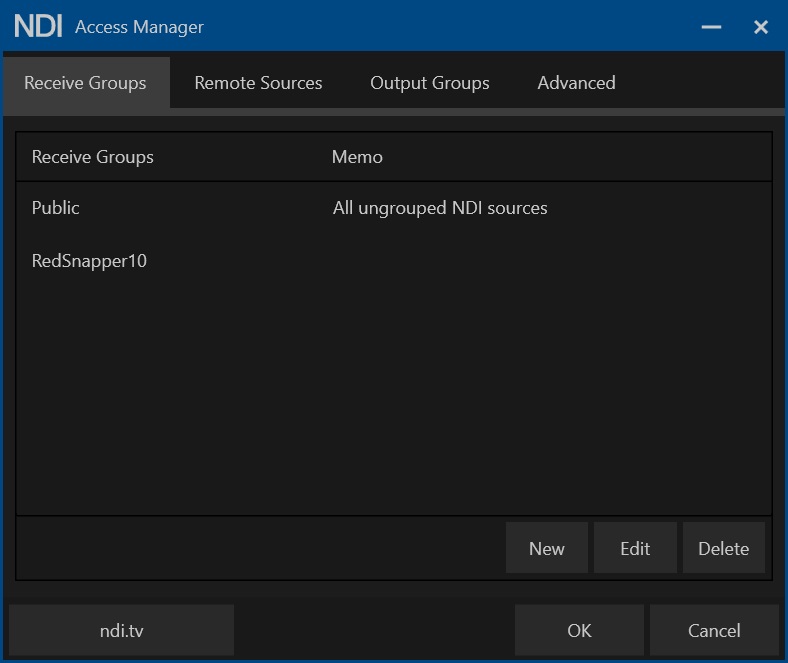
If you now click "OK" and restart your NDI software (such as Studio Monitor). Your NDI Software will should be able to see the NDI Sources joined to RedSnapper10 even though other PCs are not able to access them.
- Remote Sources: This feature allows you to create static entries for cameras across your network or even those accessible via public IPs or Dynamic DNS. The other nice offering with Remote Sources is an easy way to name and group your sources.
Please Note: If you are experiencing simple discovery issues defining the NDI source in the Remote Sources section should solve basic discovery issues; note that discovery issues can be indicative of other network issues that could prevent reliable use of NDI.
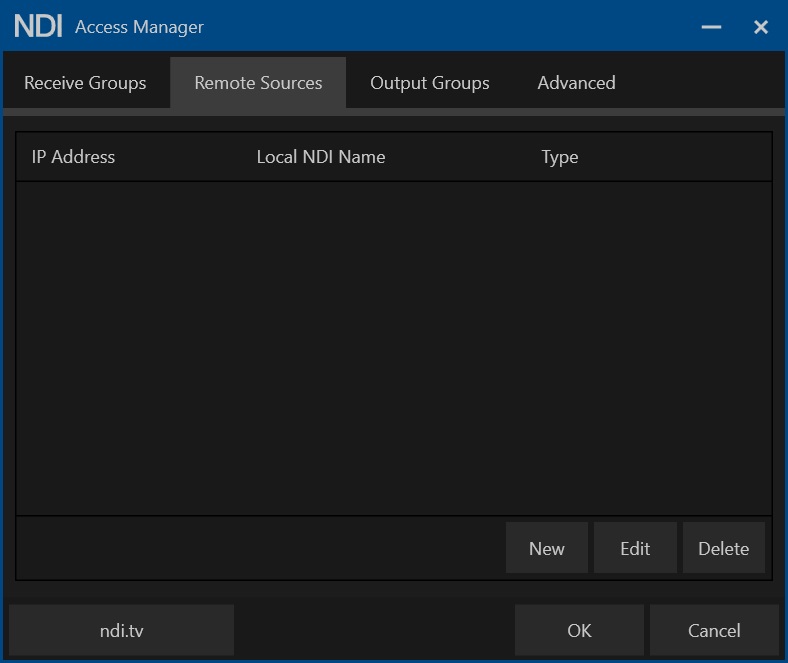
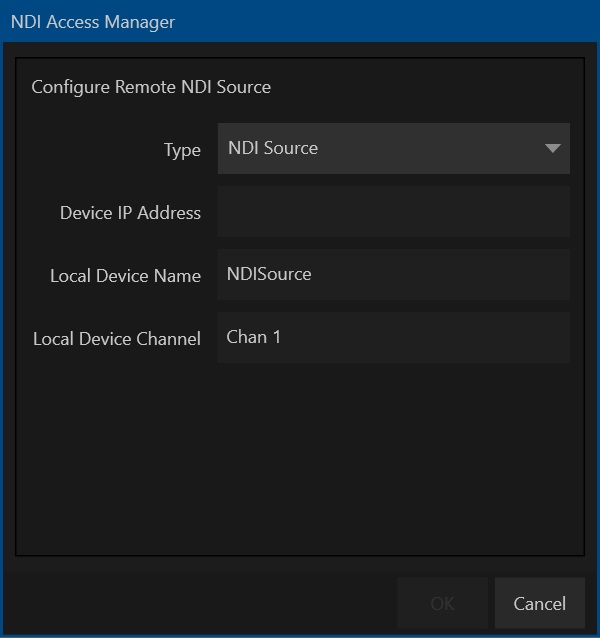
To add a new "Remote Source" click on the "New" button at the bottom of the "Remote Sources" tab. where you will be greeted by a new window to create your remote source entry.
-
Type: Using this drop down menu you will need to select the appropriate option for the device you are trying to configure. You should select the "NDI Source" option.
-
Device IP Address: This is where you will enter the static IP address (locally or as a public IP) of the NDI source noting that you can also leverage Dynamic DNS entries and similar in this text box.
- Local Device Name: This is a field that allows you to organize and potentially group multiple NDI sources under a single category. As you add more sources you can use the same Local Device Name so that they all show up under together under the same NDI header as can be seen below with multiple "sources" available under the "DAVIS" Local Device Name

- Local Device Channel: This is where you can identify the unique NDI source with a title such as "Stage Left" or "Overhead View" to allow for further organizing your NDI sources.
Once you are done creating your entry simply click on the "OK" button to complete your configuration.
-
Output Groups: This feature has a similar effect to the NDI Receive Groups we discussed above with the core difference being these are the NDI Groups that your PC will be able to share it's NDI outputs with.
- Advanced: This section should be used if you need to "tune" your NDI network feeds to meet specific network requirements such as using multicast, forcing TCP / UDP and leveraging the NDI Discovery Server.
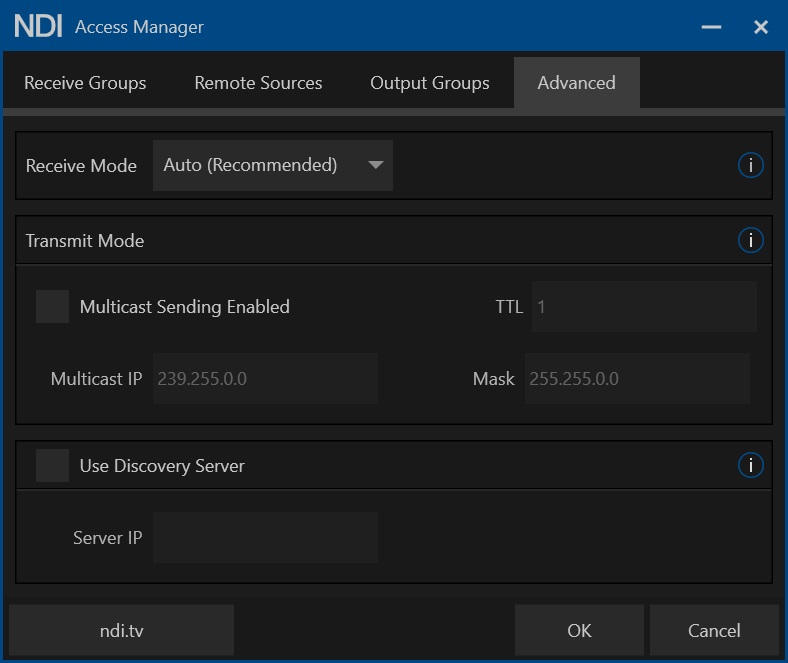
- Receive Mode: This will allow you to dictate the communication method utilized for receiving content on your PC and allows you to select between the following options that may be needed depending on your network configuration and architecture.
- Auto (Recommended)
- UDP (Legacy)
- Multi-TCP (Legacy)
- Single-TCP
- Reliable UDP
- Transmit Mode: This allows you to enable multicast sending from your PC over your LAN. It is worth noting that you should NOT enable multicast on your PC or other NDI sources unless you can confirm the network has been configured to support the use of multicast traffic.
- Use Discovery Server: This feature allows you to no longer rely on your network and mDNS for discovery of cameras and instead allows you to run a free application that acts as the central point for NDI discovery across a network.
Please see our guide on configuring and using the NDI Discovery Server below


Share:
NDI Discovery Server
NDI Discovery Server