Using the NDI Discovery Server may help mitigate certain issues related to mDNS traffic on computer networks. This guide will demonstrate how to install and start the NDI Discovery Server, then it will show you how to connect your cameras and computer to the server.
- The NDI Discovery Server is located in the NDI SDK. You will need to download the NDI SDK here: https://www.ndi.tv/sdk/
- The NDI Discovery Server is a lightweight application that can run on your computer. You will need to know the IP address of the computer on which it is running. We recommend setting a static IP address on this computer.
- Once you have downloaded the NDI SDK, you will need to navigate to the Discovery Server folder , Like:
C:\Program Files\NDI\NDI 5 SDK\Bin\Utilities\x64
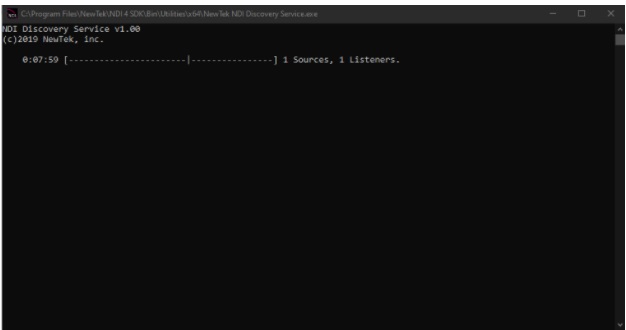
- The file is “NewTek NDI Discovery Service.exe”. Double Click on this application to start the NDI Discovery Server. You will see a window like the following:
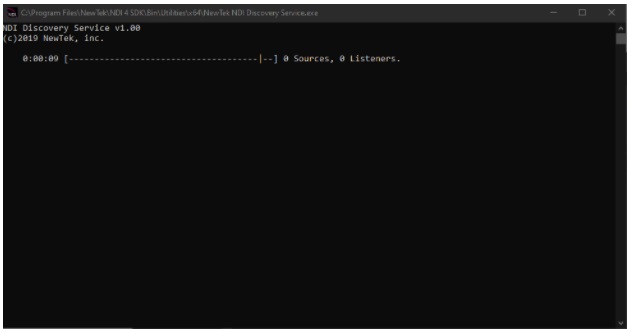
- Right now, there are 0 NDI Sources and 0 NDI Listeners
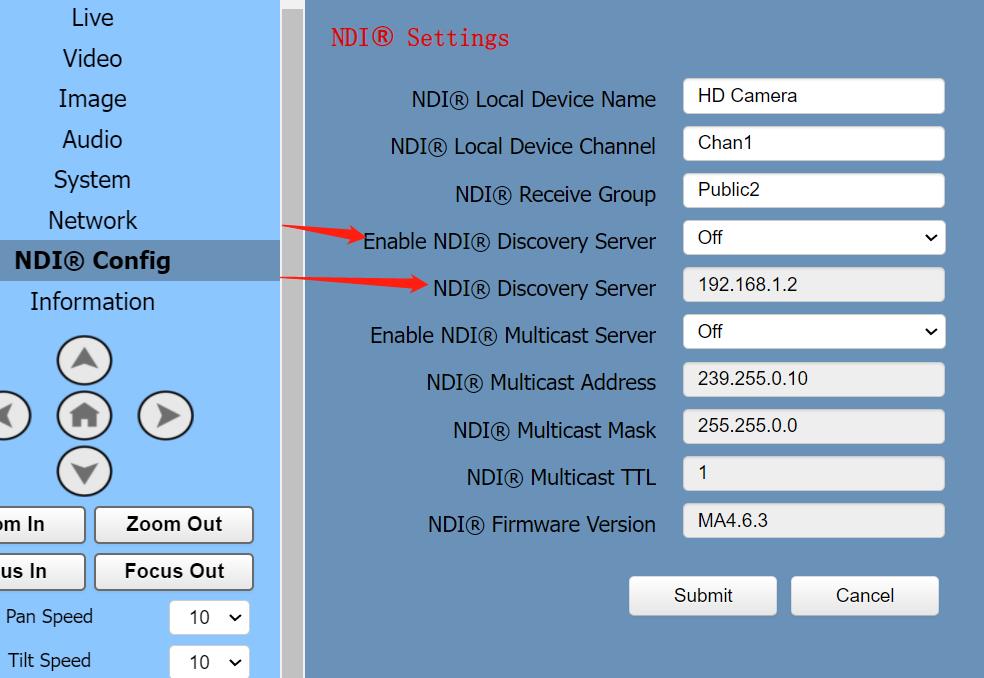
- Navigate to the NDI Config section of a NDIv4 camera. You will enable the discovery server and then enter the server’s IP address:
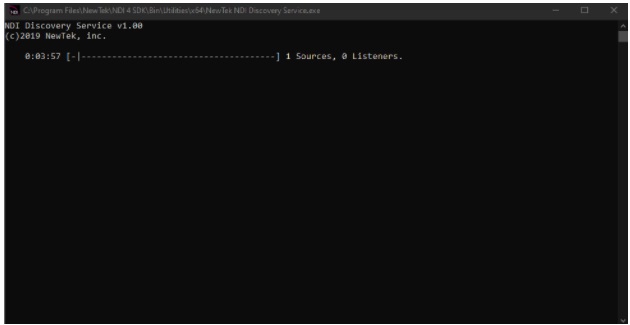
- After Applying this information and rebooting the camera, you should see 1 Source listed in the NDI Discovery Server. This is your camera:
- Now, we need to point your computer to the NDI Discovery Server. Open NDI Access Manager, and click on the Advanced tab:
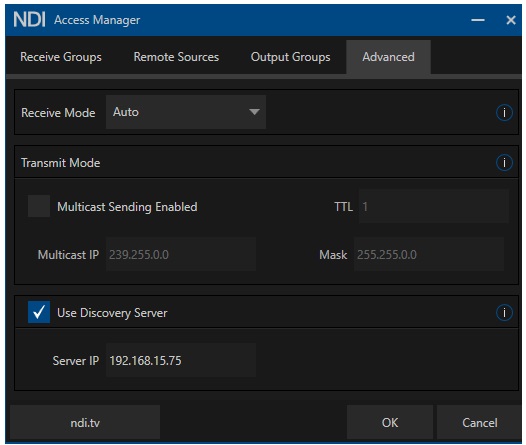
- Here you will select “Use Discovery Server” and enter the IP address of your discovery server. Click OK
- Open NDI Studio Monitor. You should see a new Listener appear in your NDI Discovery Server.
NDI is now using your computer for discovery instead of mDNS. Do this on all NDI sources and listeners on your network.
Share:
Understanding NDI Access Manager
Understanding NDI Access Manager